
Sewing a plush toy lets you handpick the size and texture; you even get to mold the character’s personality. The finished piece usually appears more personal than a store-bought toy. That sense of ownership changes the tone of the whole project.
You might sew a new ragdoll for a child or make a teddy bear as a gift. Sometimes the idea comes out of nowhere on a quiet afternoon. Other times, you just want a relaxing project for yourself.
Either way, successfully completing the task is absolutely possible when it’s broken into steps.
Why Sew a Stuffed Animal?
Handmade plush animals have meaning beyond their stitches. Homemade toys often become the ones kids reach for at bedtime or tuck under their arms on long days. These companions rarely stay on a shelf for long.
A lot of people also enjoy the slower pace of sewing and the satisfaction they get from watching a design slowly take form. The experience is just as important as the outcome.
Sewing your own stuffed animal allows you to:
- Select materials that match a child’s preferences or sensory needs
- Modify the size for small hands or decorative display
- Repair or recreate a beloved toy that has worn out over time
- Control elements such as texture, color, and facial expression

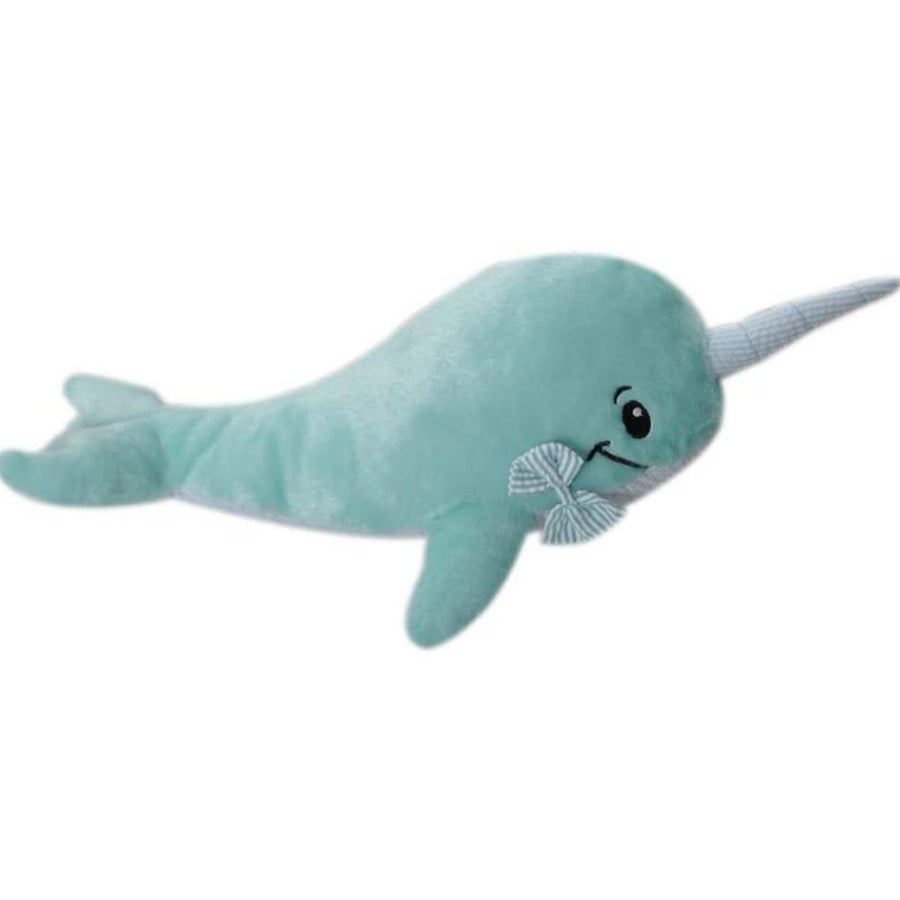
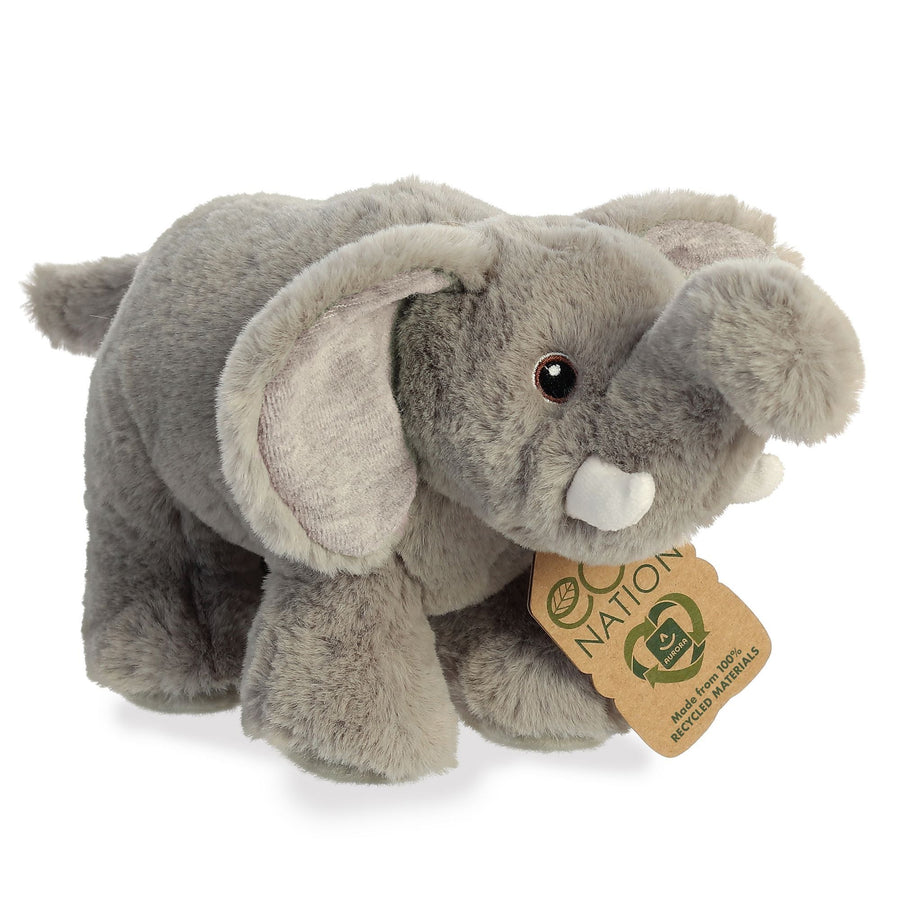
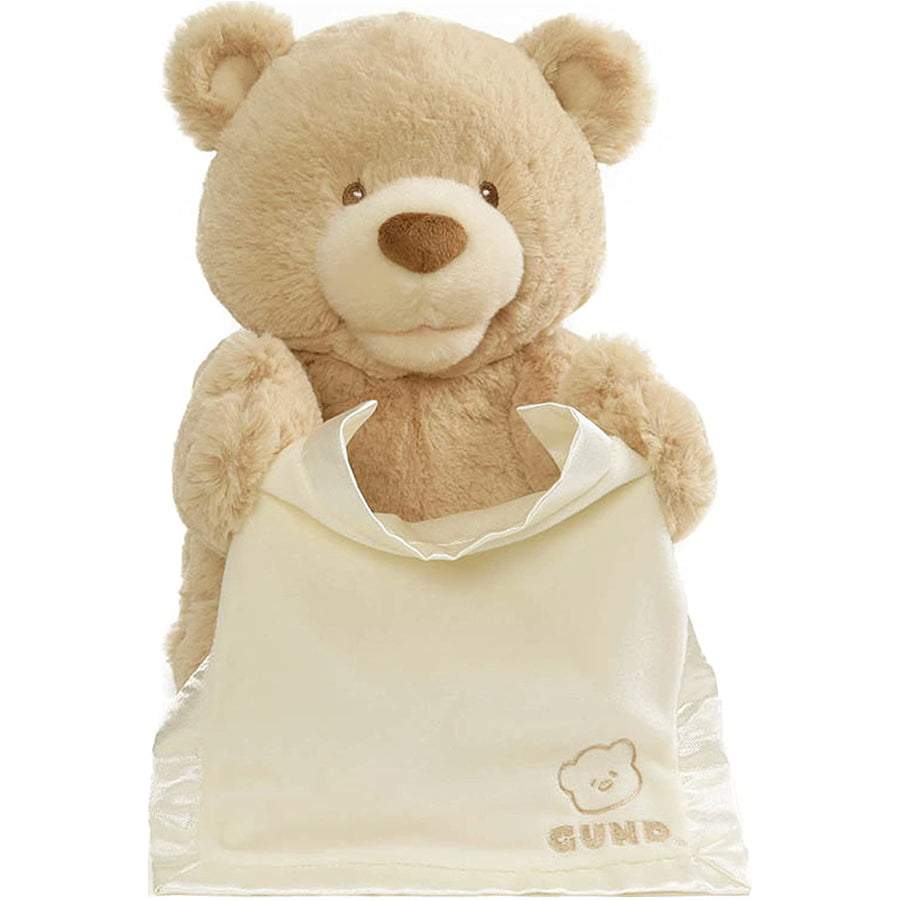

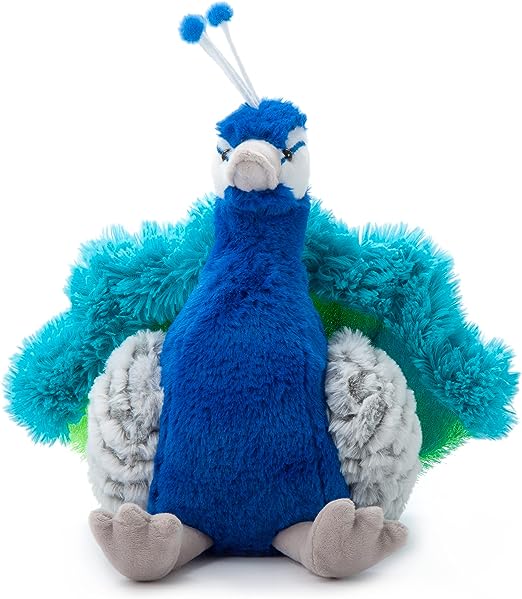

Many people add their completed work to collections of beloved plush stuffed animals, blending handmade charm with well-loved favorites.
Materials You Will Need
By gathering your supplies before you begin, the process feels smooth, not rushed. It also saves you from hunting down tools halfway through a seam. With everything close at hand, you can maintain your rhythm.
Most projects rely on basic components that are easy to find and prepare. Fortunately, the list stays simple.
Common supplies include several basic tools:
- Fabric like fleece or cotton. Felt also is great for beginners.
- Thread in a matching or contrasting color
- Stuffing material, often polyester fiberfill
- Sharp fabric scissors
- Pins or sewing clips for alignment
- A hand-sewing needle or a sewing machine
- A pencil or fabric marker for tracing patterns
As optional extras, you might even include embroidery floss for faces or small fabric scraps for parts like ears or tails.
Choosing the Best Fabric for Your Cuddly Friend
Cloth choice impacts both the toy’s appearance and the ease of sewing. Softer materials are comforting, but they may stretch. Firmer fabrics keep their shape well, although they can feel less plush.
Cotton or felt materials stay stable and show stitch lines clearly. Fleece works well once you get used to how it stretches under your fingers. After a few seams, the fabric gets easier to read.
Washing cloth before cutting prevents it from shrinking later. Pressing fabric flat also increases accuracy when tracing patterns.
8 Steps to Sew a Plush Stuffed Animal
Ready to learn how to sew a handmade pal?
Specific steps keep you relaxed and focused, no matter if you’ve never sewn a stuffed animal before. When you take your time at every stage, the tiniest adjustments will make a big difference. It’s the progress that matters more here than perfection.
1. Choose or Construct a Pattern
Patterns guide the design’s shape and size. You can draw a basic outline by hand or use a printed diagram.
Simple animals with rounded forms work best for first projects. Avoid narrow arms and legs until you grow more confident in your skills.
2. Trace Then Cut the Fabric
Fold the material so the right sides face inward. Place the pattern on top and carefully trace. Make two identical cutouts for the body. Should the model include extra parts, like tails or hats, create those pieces, as well.
3. Pin the Pieces Together
Align fabric pieces with those same sides facing each other. Employ pins or perhaps clips to fasten the edges in place. Leave a slight opening along one edge. The gap allows room for turning and stuffing later.
4. Sew the Edges
Sew slowly by following the traced outline. Use a straight stitch and keep your spacing even. Pivot gently at curves. Then just backstitch the beginning and end to secure the seam.
5. Turn the Figure Right Side Out
Cautiously twist the cloth through the opening. Use a blunt tool, such as a chopstick, to push out curves. Take some time to create edges before you start stuffing.
6. Stuff the Animal
Insert stuffing in small amounts and evenly spread it so you prevent lumps.
You decide how firm the stuffing should be. Some people like a floppy toy, but others want more structure. It really comes down to how you imagine that precious child in your life holding the bear, dog, doll, or another adorable plaything.
7. Close the Opening
Fold the raw edges inward. Stitch the opening closed using a ladder stitch or small whipstitches. Tight, even stitches keep the seam nearly invisible.
8. Put Facial Features and Details
Embroidery gives personality. Simple stitched eyes and noses are safe and durable. You can also attach extra fabric pieces, such as ears or wings, with secure stitches.
Hand Sewing vs. Machine Sewing: Which is Better?
Should you hand sew or use technology?
Both tactics work well for stuffed toys. Hand sewing gives you more control, while a sewing machine can move through longer seams much faster.
Handmade toy makers frequently combine hand and machine construction. For example, they might let machines make body seams and hand stitch the opening, then finish the more minute characteristics by hand, as well.
Your chosen option is the one that’s comfortable rather than perfect.
Common Mistakes to Avoid
Missteps can affect the finished look, especially for beginners. Catching them sooner than later will save you time as it makes the rest of the technique go smoother.
A few issues that tend to cause trouble:
- Skipping seam reinforcement at stress points
- Overstuffing narrow areas
- Cutting material without aligning grain or stretch
Without a doubt, you will make errors during early projects and beyond. They’re all part of how sewing skills grow. But the mistake makes the next one easier to spot.
Never fear: A seam ripper makes it easier to correct them without starting over.
Easy Ways to Make Your Plush Toy Unique
Extra special touches turn a typical project into something unmistakably yours. Color choices, stitched details, and eyecatching textures mix to build personality.
To personalize the handmade toy, some creators include:
- Initials or names embroidered on the body
- Patchwork fabric combinations
- Weighted pellets for a calming feeling
Every change builds character without adding too much complexity.
Caring for Handmade Stuffed Animals
Treat handmade toys gently, and they will keep their shape and softness for years of hugs. A little attention goes a long way – spot cleaning works for most cloth.
Put the creation in a mesh bag and run a gentle cycle if machine washing becomes necessary. Meanwhile, air drying protects the toy’s structure.
When you stitch carefully and give them tender loving care, stuffed toys often last for years – or decades.
From Fabric Pieces to a Handmade Companion
When you learn how to sew a stuffed animal, patience and vision merge in a single application. Each of the steps builds confidence, even when stitches look imperfect or uneven.
Plush playthings you make yourself hold stories in every seam, from the first stitch to the last knot. They soon become cherished friends. Plus, they are thoughtful gifts. Many will someday be quiet reminders of the time you spent making something by hand.
With a little practice, patterns often spark ideas for more detailed designs down the road. The process stays rewarding every time you start again.


