
Whether your child has expressed an interest in photography or you’re trying to introduce it to them, toy photography is a fantastic way to align their interests. Believe it or not, toy photography can also be a career choice later in life. Let’s begin this guide by looking at various methods to encourage simple and fun snapshots of their figurines!
1. Start with Simple and Fun Photographs
The number one way to get your kid interested in toy photography is by letting them take pictures of their favorite action figures. Because of advances in smartphone cameras, you won’t even need to purchase any special equipment. Instead, use everyday items and natural lighting to set the scene.

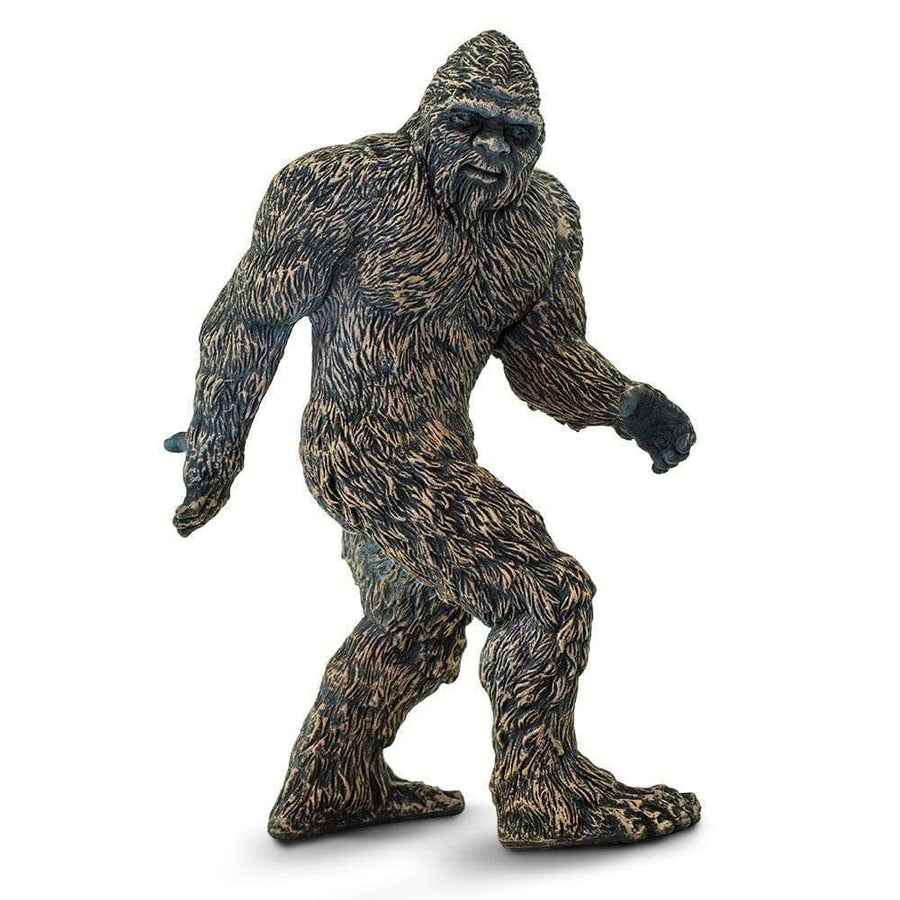
Children often have simple narratives as they play. Therefore, use this to create a narrative such as a Whale Shark Toy exploring the water or a Bigfoot Toy wandering through the woods. Make these come to life by offering a large, deep bowl of water or by turning a grassy section of your lawn into the Pacific Northwest.

2. Get Creative with Scenes and Angles
Once your kid has mastered the basics, it’s time to put creative angles and scenes together for better results! The first, and most important, thing to teach them is taking photos from the ground up. By maintaining an eye-level view of their toys, it’s possible to make them look very life-like, including their size.
Props like LEGO or small toys will help. You could even add some drama by showing them how to make a DIY ‘explosion’ by using a puff of flour. Furthermore, shooting from above or below provides a unique perspective. They can even create reflections using a nearby puddle.
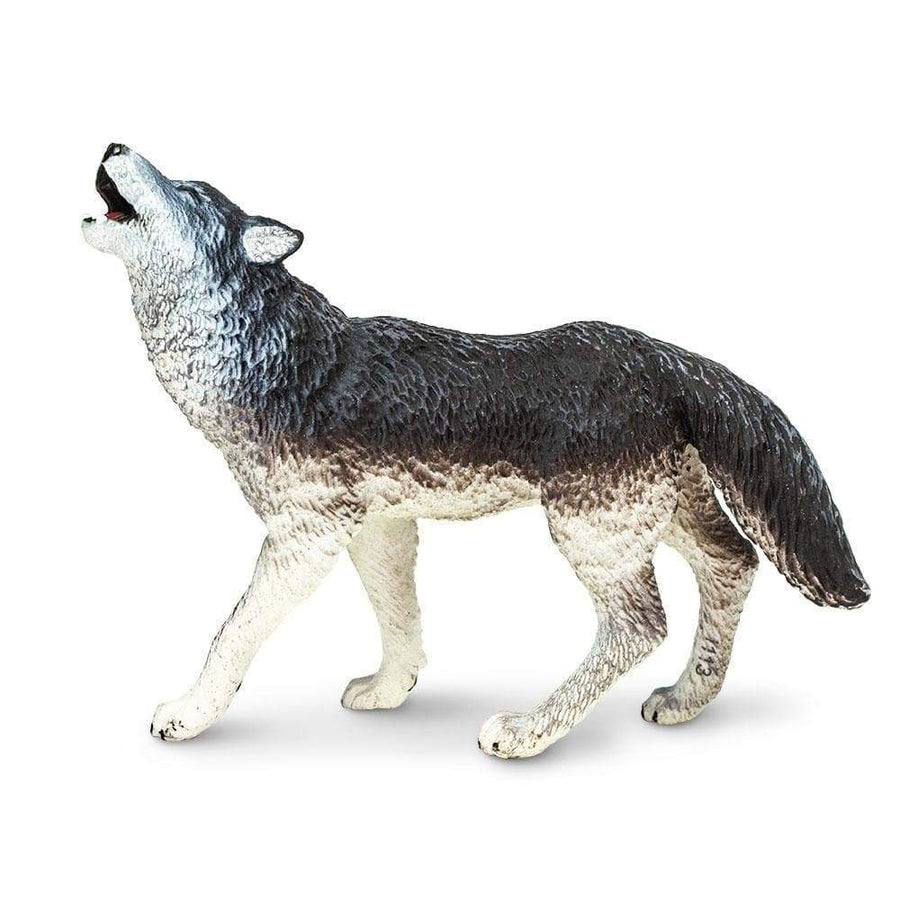
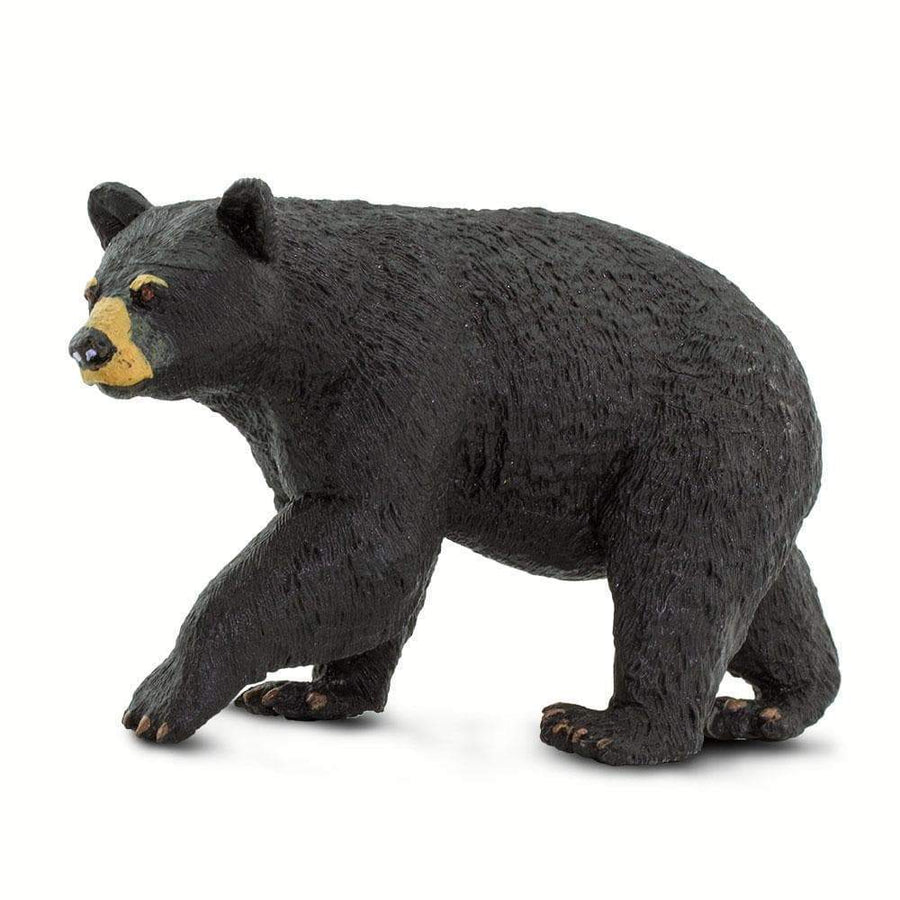
The most impressive thing you can help them do, though, is build mini stages. For instance, you could use natural elements such as leaves, dirt, and rocks with the Gray Wolf Toy. Alternatively, choose a simple backdrop to help them set the scene for their Black Bear Toy.
3. Be Sure to Teach Them Basic Tricks for Better Results
Composition can make the difference between a bad or good photograph. Therefore, show them that not cluttering their frame provides better results. As a beginner, it’s especially important to choose no more than three figurines per picture.
Focusing on emotions is always the right call, but how do you ensure their figurines show emotion? There are a variety of tricks, including photographing them from different perspectives. You can also easily bring out the emotions in the Wolf Pup Figurine, for example. Or, if they’re taking pictures of a superhero toy, be sure to place it so it looks extra determined.
4. Teach them Basic Editing Techniques
Depending on your child’s age, they may or may not be ready to learn all about editing. If you feel like they can handle it, take the time to show them simple edits. Focus on showing them how to make color adjustments and crop their photos to make them better. Some of the best toy photographers in the world use similar adjustments to make their figurines seem real.
5. Explore the World of Toy Photography Together
Collaborating on a toy photo shoot is a fun way to spend time together. Listen to their ideas and look at their toys. What ideas pop into your head? You could try letting both of you have a turn and comparing the results. Another way to get inspired is by looking through pictures that other toy photographers have taken. You can also watch movies together that feature their favorite characters.
Of course, the best way to let your child’s skills improve is by encouraging them to practice. Digital photos make this super easy! Remember: The more time they put into taking pictures, the better they’ll become at it.
6. Adjust the Camera Settings
Have you given your child a camera to use instead of a smartphone? Fantastic! You’ll need to adjust your camera settings, though, to receive better results. There are three primary tips to get their camera ready for toy photography:
- Set their camera’s ISO to the lowest possible setting to help get rid of noise in their images.
- Select a narrow aperture to make their toys seem more life-like.
- Use manual focus to allow them to capture small details.
7. Shooting Outdoors Looks More Realistic
Outdoors photography always looks more realistic. Plus, it offers stones, playgrounds, beaches, tree branches, concrete, roads, parks, and grass to help set the mood. Not only will this increase the aesthetics of toys such as our Lion Figurine, it’s also the best way to avoid having to make a lot of decorations for the shoot.
8. Utilize the Natural Features of the Figurine
Certain action figures have several points of articulation, which makes it possible to capture many different emotions. One of the ways to make sure their action figures look their best is by photographing in grasses or on tree bark. After all, this will make them look like they’re on an important mission! If your child is crafty, they could even restyle and repaint their figurines.
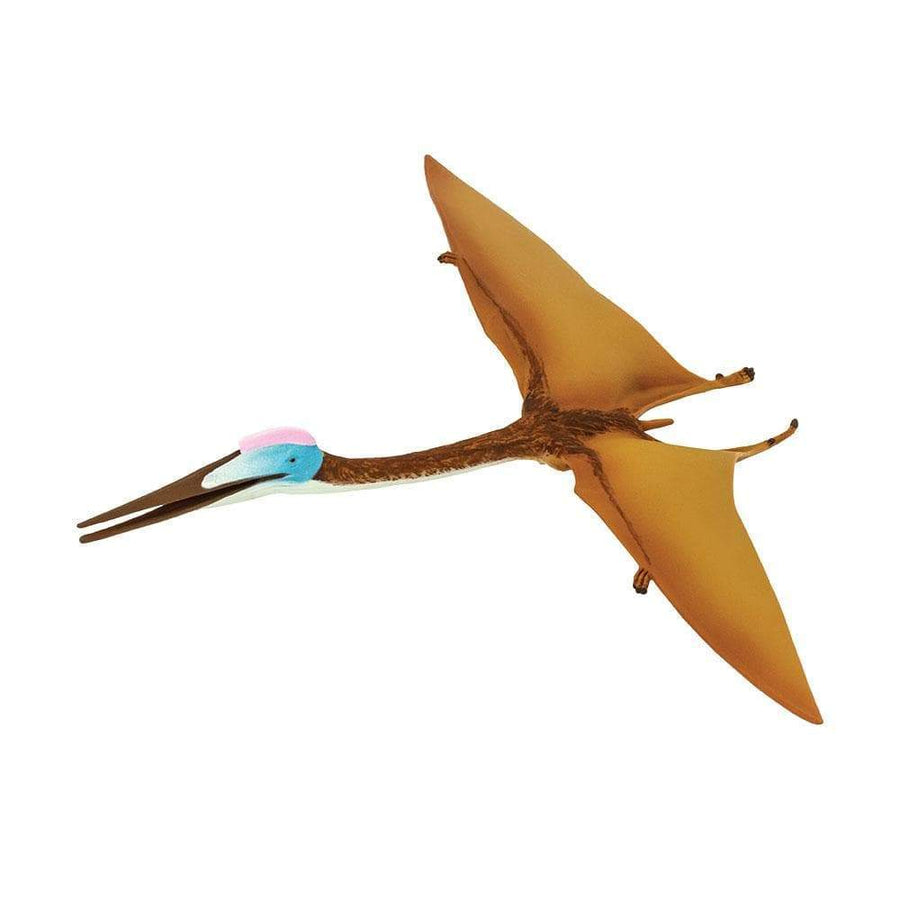
9. Show Them How to Use Wire for Flying Toys
Items such as the Quetzalcoatlus Toy were made to touch the sky. Running around with one in their hand works for playtime, but you’ll have to take a different approach if you want their toys to look like they’re really flying. Show them a quality wire that can bear the weight of their toys such as 12-gauge copper insulated wire.
Important tip: If you’re going to help them make their toys ‘fly,’ you’ll want to incorporate the results into an editing session. The wire will be visible in their photographs otherwise.
10. Have Fun With It!
Remember that the entire point of showing your child toy photography is to help foster an environment where creativity and curiosity rule the day! Therefore, if your child makes mistakes, use them as an educational springboard. If your child can tell you’re no longer having fun, then they’re likely to shut down. Instead, embrace their successes and mistakes as a vital part of the process.


Toy photography is more about experimentation and perspectives than following any strict rules. Simply help your child come up with a simple narrative and encourage them to start shooting!

