Planning a kids’ party always sounds like a Pinterest dream… until you’re the one drowning in glitter, glue sticks, and tiny humans yelling, “What’s next!?” But hey, that’s why you’re here. We’ve lined up 15 spring and Easter-themed crafts and activities that are super easy and guaranteed to hold their attention (at least until the snacks come out). Bonus? A lot of them use stuff you already have at home!
Grab your coffee (or something stronger) and roll up those sleeves. It’s time to craft, play, and kind of pretend you’ve got everything under control.
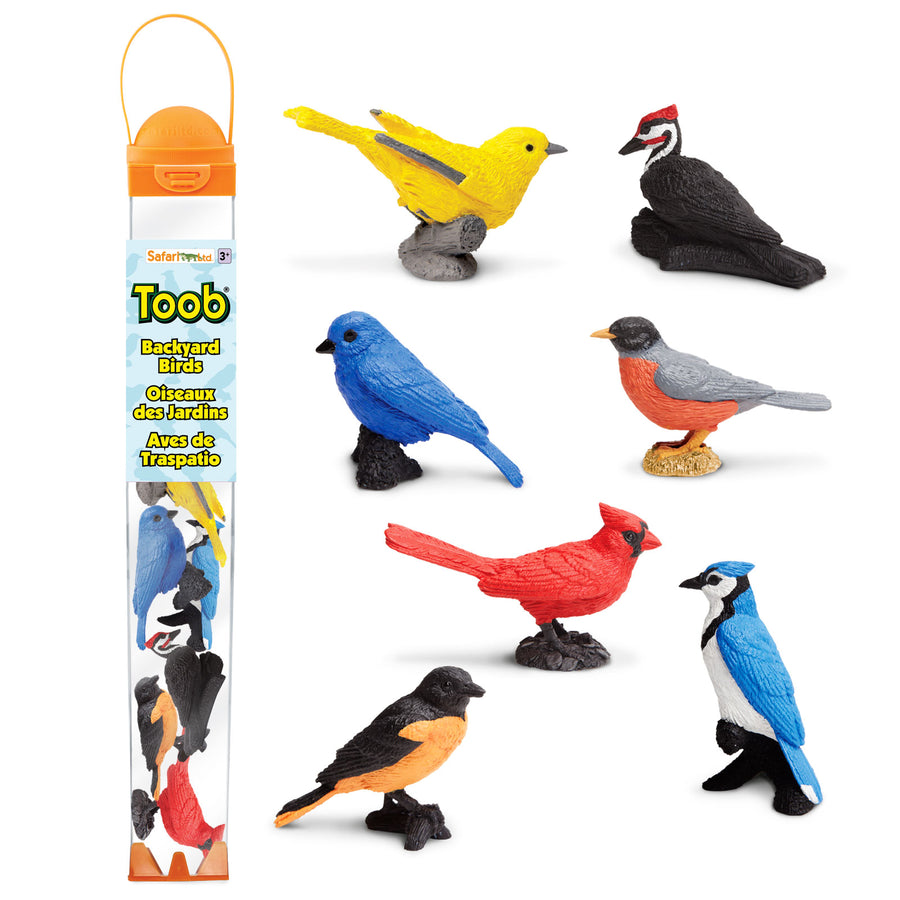
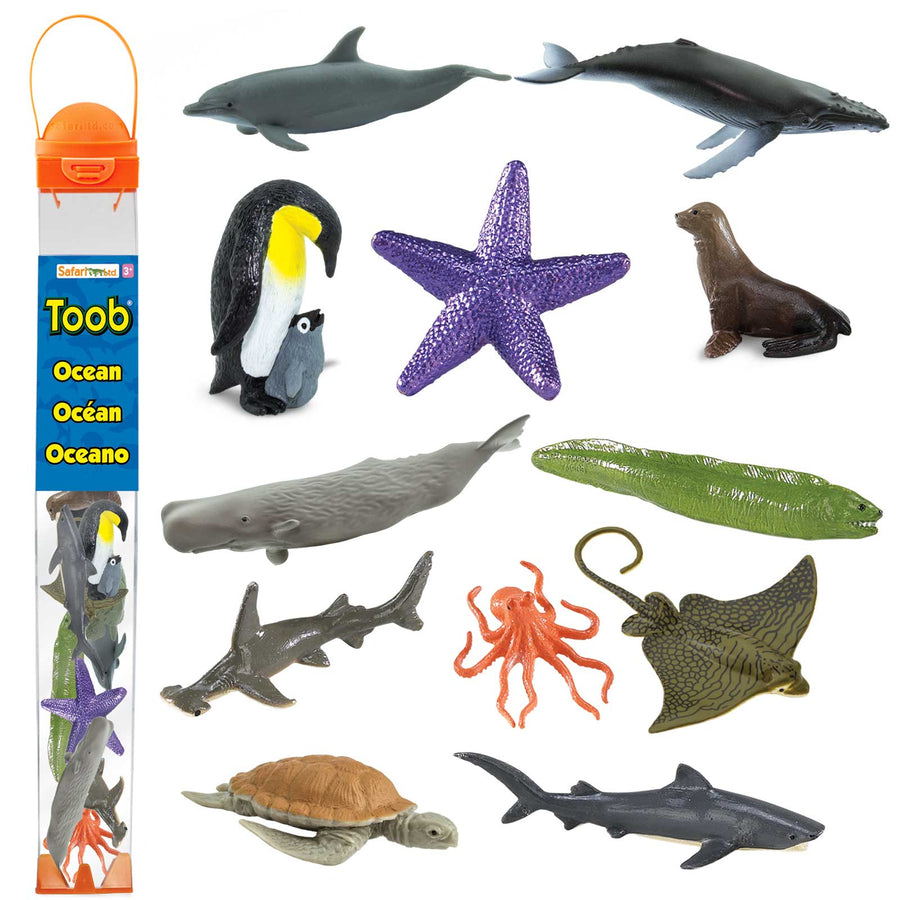
1. Spring Safari Egg Hunt

Supplies:
• Plastic Easter eggs
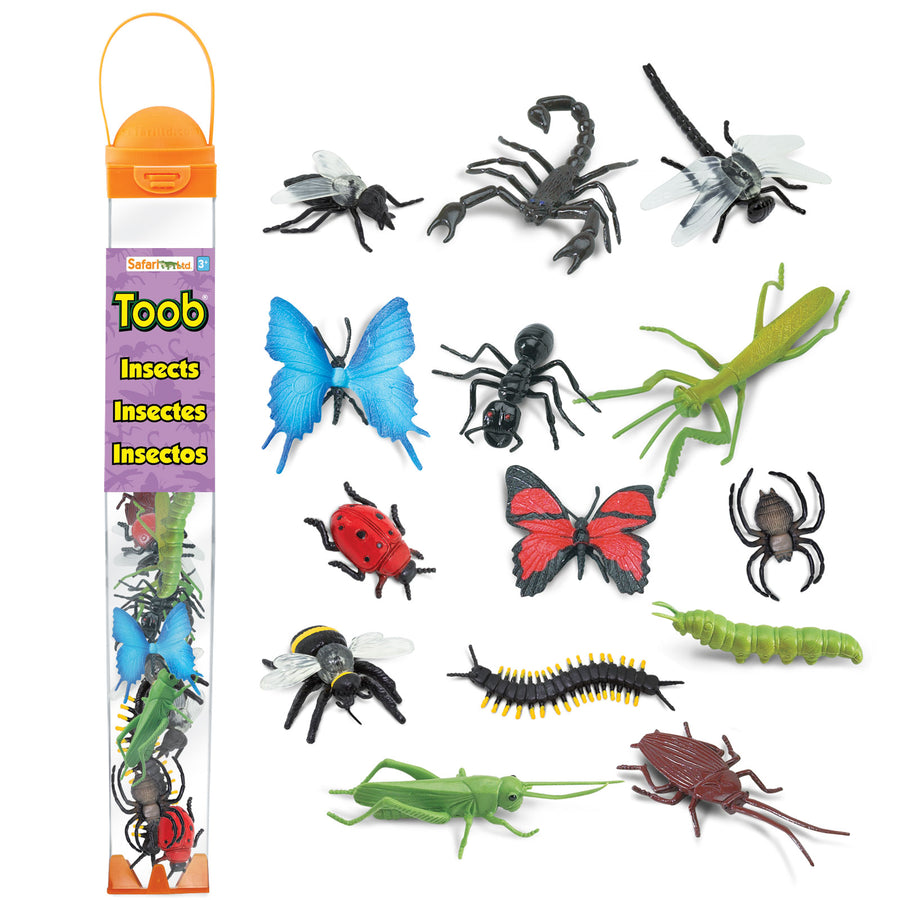
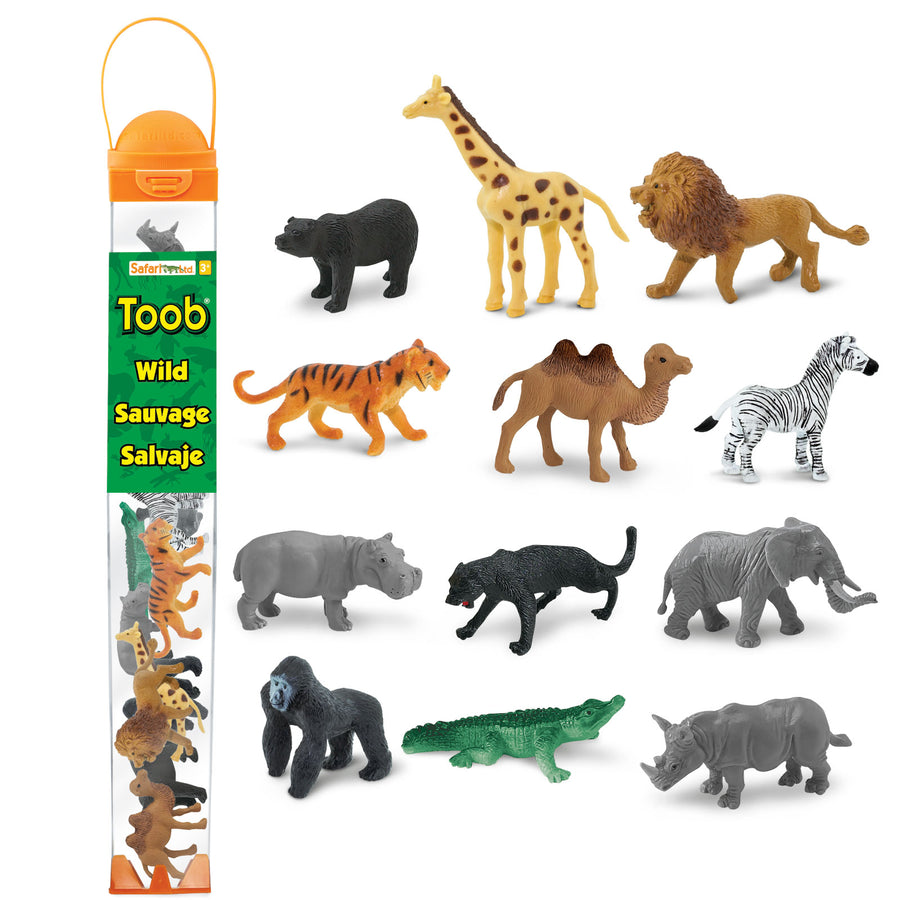
• Mini animal figurines to stuff the eggs (think farm animals, frogs, insects, or even dinosaurs because why not?)
Instructions:
• Stuff the eggs with the animal figurines
• Scatter the eggs around the yard or house, then tell the kids they’re on a “spring safari.” Their mission? To save ALL the animals.
• Add a sprinkle of drama by narrating the hunt with sports host-like commentary.
2. Bunny Gift Bags

Supplies:
• Brown or white paper lunch bags
• Markers or crayons
• Googly eyes
• Pom Poms (for nose)
• Cotton balls (for tail)
• Pipe Cleaners (for whiskers)
• Glue or Hot Glue Gun (Adult Supervision Recommended)
Instructions:
1. Start with a regular paper lunch bag. Look for the open side at the top.
2. About halfway down the bag, cut off the top portions of three sides (both narrow sides and the back side). Leave the front side of the bag at its full height. Once done, you should have a tall front side and shorter sides and back (about half as tall as the front).
3. Now focus on the tall front side. Using scissors, cut a single vertical line down the middle of this front side, stopping about halfway down the bag when you reach the edge where the shorter sides begin. This will create two flaps.
4. To make your bunny ears, round off the top corners of those two flaps. Add smaller matching-shaped pieces of pink construction paper or color the inside of the rabbit's ears.
5. Hand over the supplies and watch them add their own personal flair!
6. And there you have it! A cute bunny-shaped gift bag ready to fill with goodies!
7. Once they’re done, crank up some music for a “Bunny Parade.” It may evolve into chaotic hopping contests, but that’s part of the fun.
3. Egg and Jelly Bean Roller Coasters (For the Little STEM Stars)

Supplies:
• Toilet paper and paper towel rolls (start hoarding now)
• Painter’s or Masking Tape
• Small Plastic Easter Eggs
• Jellybeans and/or other smally wrapped candy eggs
Instructions:
• Challenge the kids to build the most epic roller coaster using the paper rolls and tape.
• Cut rolls in half down the length so that it creates two open, gutter like track pieces.
• Tape pieces open side up on a wall, refrigerator, easel, box side, or other vertical surface.
• Pieces should be arranged so that they connect to one another or are angled to allow the egg or candy to fall from one into the other as it travels.
• Talk up gravity and engineering if you’re in ambitious parent mode.
• Test the track with plastic eggs, jellybeans, and other egg candies. Which items travel the best on the wall coaster? Why do you think that is? What adjustments can you make to your track to make it work better?
4. Spring Sensory Bins

Supplies:
• Small plastic bins or shoebox lids
• Playfoam Pluffle, pom-poms, fabric scraps, Easter grass, shredded paper, dried beans, rice (you can dye it), or lentils (steal from that bag in the back of your pantry)
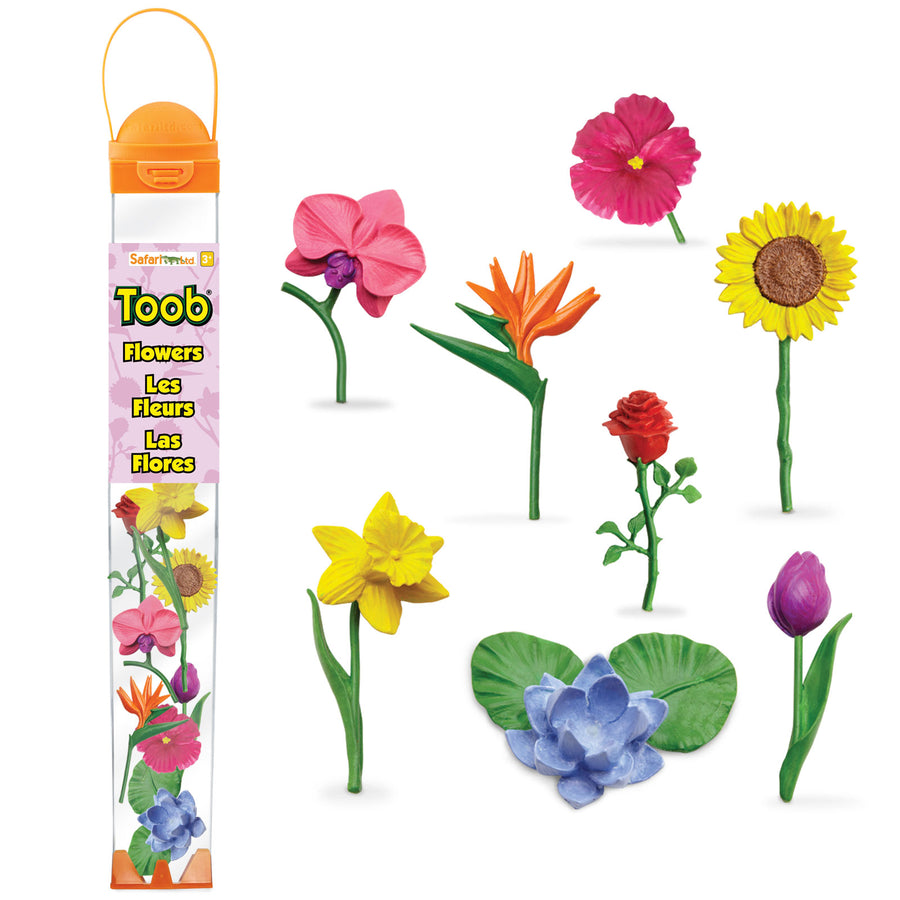
• Mini figurines (frogs, farm animals, backyard birds, flowers, vegetables, fairies, or insects)
• Props like mini flower pots, rocks, tiny houses, etc.
• Spoons, tongs, scoops, and cups
Instructions:
• Pour the beans or rice into the bin as toss in the animal figurines, and boom! Insta-fun.
• Hand them scoops and cups for digging "adventures" while you sneak in a caffeine break.
5. Outdoor Chalk Extravaganza

Supplies:
• Sidewalk chalk
• Driveway, patio, or any chunk of concrete
• Send them outdoors and tell them to draw a “spring dreamland.”
If creative juices are flowing, help by throwing out some prompts like “What’s the biggest egg you can draw?”, “Who can draw and decorate a dozen eggs?”, “Draw a Map with landmarks to get the bunny from the garden back to his home.”, or “Create a bunny city.” Cheesy? Absolutely. Will it keep them drawing for at least 20 minutes? You bet.
6. Floating Egg Boats (More STEM-y Goodness)

Supplies:
• Plastic Easter eggs
• Clay or other material (like pennies) to weight down the bottom of the egg.
• Toothpicks & Scrap paper (optional for tiny sails)
• Bowl of water
Instructions:
• Stuff the bottom half of a plastic egg with clay or other weighted objects (like pennies) to keep bottom down and egg upright. Stick in a toothpick as a mast and attach a paper sail.
• Test them in the water! Challenge kids to add a mini figurine onboard, then drift them around (or just cheer when it doesn’t immediately sink).
7. Egg Spoon Relay Race

Supplies:
• Plastic eggs or real eggs (if you’re feeling daring)
• Spoons
Instructions:
• Set up a relay course with obstacles to navigate as they balance their eggs on the spoons (Detours optional for chaos-loving parents.)
• Hand each kid a spoon with their egg balanced on it and watch them try not to drop it while racing. Silly cheering mandatory.
• A different version would be to assemble several kids on relay teams and have them race back and forth from start to finish and back again to hand off the spoon egg to the next in line. The first team to get the last person across the finish wins.
8. Cupcake Spring Decorating Frenzy

Supplies:
• Plain cupcakes (bake them or hit up the store)
• Frosting in bright spring colors
• Toppings (sprinkles, candies, anything unreasonably sugary)
• For older children - Mini spring themed animals or fairies to add as toppers (make sure to specify that the figurines are not edible!)
Instructions:
• Give each kid free rein to decorate a cupcake like “spring exploded,” or as spring nature scene.
• Spoiler alert: they’re going to eat it before you even find the camera for a cute pic.
9. Bunny Planters From Milk Cartons

Supplies:
• Empty milk cartons
• Craft supplies: Paint, markers, construction paper, glue sticks, mini figurines, and/or stickers.
• Potting soil
• Grass seeds or plants
Instructions:
• Cut the milk cartons, decorate as bunny heads (ears? yes, please), then fill halfway with soil.
• Add grass seeds or flowers and water lightly
• Don’t forget to make a big deal about “watering day” so they actually keep it alive.
10. Springtime Surprise Dig Eggs

Because who wouldn’t love cracking open a fizzy, sciencey egg to discover a hidden critter?
Supplies:
• Large plastic Easter eggs (the bigger, the better for maximum treasure space)
• Baking soda
• Water
• Food coloring (optional, but festive and fun)
• Vinegar + droppers, pipettes, or tiny spoons
• Small spring-themed animal figurines
• Optional extras for flair: glitter, confetti, or a drop of essential oil for lovely-smelling “excavation eggs”
Instructions:
1. Grab a bowl and mix 2 parts baking soda to 1 part water. Go slow with the water until your mixture feels like moldable, wet sand. (Think kinetic sand but DIY and more edible if someone accidentally licks their fingers.)
2. Add a splash of food coloring if you're feeling fancy. Glitter? Extra? Absolutely throw it in. These are luxury dig eggs.
3. Take the bottom half of a plastic egg and pop a small critter figurine inside. Think bunnies, chicks, or even tiny frogs just begging to be dug out.
4. Pack your baking soda paste into the egg, completely covering the figurine. Add a bit more paste to the other half of the egg, then squish the two halves together tightly. Congrats! You’ve created an excavation masterpiece.
5. Carefully pop the egg halves back open and gently smooth out any rough edges on your soda-filled egg.
6. Dry them overnight (if you have patience) or stick them in the freezer for an hour if, well, you don’t.
How to Play:
• Hand each kid a prepped soda egg, a vinegar cup, and a dropper or spoon.
• Challenge them to reveal the hidden treasure by dripping vinegar on the egg. The fizzy, bubbling reaction is almost as fun as finding the critter inside. Science and suspense in one little package.
Parent Flex: Casually explain the whole baking soda-vinegar chemical reaction thing to sneak in a STEM moment. You get bonus points for saying “carbon dioxide” without laughing when the egg basically explodes.
11. Bug Blast Excavation Eggs

Same concept, but we’re making it dirtier (literally) for your little insect enthusiasts. Bug scientists, unite!
Supplies:
• Plastic Easter eggs
• Cornstarch
• Used coffee grounds or dry soil (and if coffee fuels your mornings, this activity is YOUR time to shine)
• Water
• Small Safari Ltd insect or springtime figurines
• Vinegar + droppers or pipettes
• Spoons and paintbrushes for that real “dig team” vibe
Instructions:
1. Start by mixing equal parts cornstarch and used coffee grounds (or soil). Slowly add water until the mixture forms a thick, mud-like dough. Perfect for making the most “authentic” bug eggs!
2. Choose your miniature insect figurines. (Ladybugs, beetles, or a good ol’ grasshopper will do nicely.)
3. Place a figurine into the bottom of a plastic egg, then pack the dough mixture tightly around it to fill both halves.
4. Smush the two halves together, hold tightly, then gently peel the egg apart to leave behind a perfect, dirt-ified excavation egg.
5. Leave them to air dry overnight, or pop them in the freezer if you need them done yesterday.
The Big Dig:
• Set up an “archeological worksite” with tools like spoons, paintbrushes, and droppers. (Or just call it your kitchen table with bonus chaos.)
• Give each child a bug-filled egg and tell them to dig away! The aim? Unearth the mini bug treasure inside before the egg dissolves completely.
• For added effect, drizzle vinegar onto the egg for fizzle-tastic fun when they’ve done the initial “digging.”
Pro Tip: Lean into the “ewww!” factor that kids love so much. Pretend the bugs are alive and see if they giggle or immediately start yelling “Squish it!” Either way, you’re winning the entertainment game.
These excavation egg activities are the kind of perfect party crafts that keep kids entertained and engaged without requiring a whole Ph.D. in DIY. The fizzy fun, hidden treasure, and sheer thrill of destruction somehow keep their attention for way longer than expected. Plus, the coffee grounds smell amazing, so… win-win.
Now get cracking! Or digging. Or fizzing. And remember to keep a towel handy for the inevitable vinegar spills (or excited kid splash zones). Happy excavating!
12. DIY Spring Paper Plate Hat Parade

These DIY paper plate hats are quick, simple, and totally customizable, making them the perfect activity for a spring celebration.
Supplies:
• Paper plates (one per child)
• Scissors
• Decorative supplies like markers, Kwik Stix, paint, crayons, tissue paper, pom-poms, ribbons, pipe cleaners, glitter glue
• Safari Ltd. Good Luck Minis are a good choice
• Hot Glue (Use with parent supervision)
Instructions
1. Paint or Color the Plate: If your kids are extra into color, they can start by decorating the underside of the paper plate. Bright spring colors, stickers, or even hand-drawn flowers will make this craft pop. Trust me, the mess is worth it.
2. Make the Crown: Carefully fold the plate in half (without fully creasing it), and cut 4–6 evenly spaced straight lines from the center out toward the edge. Stop cutting about an inch away from the rim. These cuts are going to make the “crown points” of the hat.
3. Transform the Shape: Gently lift each triangular flap so they stand upright, creating that cool crown-like look. Adjust the spacing of the flaps to make sure they don’t overlap too much, because even party hats deserve balance.
4. Decorate Like a Pro: Now’s their chance to go wild. Encourage the kids to attach pom-poms, glue on ribbons, or even stick a mini animal figurine on top for maximum flair. The more over-the-top, the better—I’m talking glitter czars and pipe cleaner royalty here.
Pro Tip
Keep the scissors and glue handy, but don’t hover. Kids love the creativity of this craft, so give them space to go rogue and create something truly unique. Bonus points for hosting a mini fashion show afterward to highlight each hat’s insane level of fabulousness.
Both of these crafts double as party activities and souvenirs the little ones can take home. Plus, the memories of kids parading around in outrageous DIY hats? Priceless. Whether you’re team paper bag or team paper plate, one thing’s for sure: those Easter vibes are going to be next-level fabulous this year.
Your Easter Bonnet Bash and paper plate hat crafts are now polished and ready to dazzle! Let me know if there’s anything else you’d like to tweak or add.
13. Mini Bunny Terrariums

Turn an ordinary jar into a magical micro-world with these tiny Easter habitats. This is the perfect craft for kids who love decorating (and for parents who appreciate minimal cleanup). Plus, you’ll sneak in a mini-lesson about ecosystems without anyone realizing.
Supplies
• Clear plastic cups, small recycled jars, or even plastic mason jars with lids
• Cotton balls, craft moss, or leftover Easter grass
• Mini bunny figurines or other spring critters
• Mini decorative items like plastic flowers, tiny rocks, buttons, beads, or even mini carrots
• Hot glue (for parents) or school glue (for kids)
• Optional extras: stickers, glitter, tiny LED fairy lights for an extra glow
Instructions
1. Set the Scene: Start by prepping your workspace. Cover the table with newspaper or a craft mat to catch all the loose moss or glitter that somehow always escapes. Set out all the supplies buffet-style so kids can pick what they want for their terrariums.
2. Create the Base Layers: Give kids a small handful of moss or a few cotton balls to layer at the bottom of the jar as “grass.” If you're using Easter grass, cut it into smaller pieces to make it fit more naturally. Nestle the materials with a gentle squish to ensure they stay in place.
3. Add Natural Details: Hand them the mini rocks, buttons, or beads and tell them to scatter them around the base. These will act as “stepping stones” or “flowers” for their bunny’s world.
4. Place the Bunny: Glue a mini rabbit figurine to a rock, button, or piece of moss so it stays upright. If your child is up for the challenge, have them create a “bunny burrow” by making a little nest in the moss.
5. Decorate to Their Heart’s Content: This is where the kids’ creativity shines! Add tiny flowers, glitter, ribbons, or any other decorations that scream spring. Older kids might enjoy arranging items to look like a real habitat, while younger ones will probably go wild and cover the bunny in stickers. Both are valid approaches.
6. Seal the Deal: Once everything is in place, screw on the lid (if your jars have one). For an extra magical touch, attach a small bow or ribbon around the rim of the jar.
Pro Tips
• Themed Zones: Assign themes to each terrarium for inspiration, like “Bunny Secret Garden” or “Magical Forest.”
• Eco-Lesson Add-On: Talk about moss and ecosystems while you craft. Older kids can learn how moss holds moisture, while younger kids just enjoy how soft it feels.
• Photograph the Results: Terrariums make for perfect Instagram-worthy moments. Snap some pics and show off your creations!
14. Plush Bunny Egg Hunt Clue Game

Egg hunts are fun, but this version turns it up to eleven by making your plush bunny the star of the show. Not only does it spark imagination, but it also gives you plenty of chances to get silly with your “bunny voice.” And yes, the kids will love it.
Supplies
• A plush bunny or bunny puppet (the sillier, the better—bonus points for floppy ears!)
• Plastic eggs in different colors and sizes
• Slips of paper and a pen to write clues or riddles
• Small prizes like treats, toys, or stickers for the eggs
Instructions
1. Designate the Bunny as Clue Master
2. Introduce the plush bunny as the “keeper of the eggs” (feel free to name it something ridiculous like Sir Wigglesworth or Flop E. McHopperson). Tell the kids that the bunny has hidden eggs all over the area and left clues to help them find them.
3. Prep the Eggs: Write simple clues or riddles on slips of paper, like:
• “I’m hiding near something that makes you clean!” (bathroom sink)
• “Hop over to the place where you sit and eat.” (dining table)
• “Look where you keep your shoes!” (closet)
• Place the clues inside the eggs, along with a small treat or prize for the first few discovered.
4. Set the Scene: Hide the eggs based on the corresponding clues. Make the hiding spots easy to spot for younger kids, or add a level of difficulty for older siblings by disguising the eggs among other objects (because who doesn’t love a challenge?).
5. Bunny in Action: Have your bunny guide the kids through the hunt using silly voices, exaggerated storytelling, and dramatic hints. Encourage them to ask questions like, “Where should we go next, Sir Wigglesworth?”
6. Celebrate with a Final Prize: The last clue should lead to a “hidden treasure” (maybe a basket full of candy, a set of small toys, or even a family treat like cupcakes). Bonus points if the bunny dramatically “reveals” it with a grand flourish.
Pro Tips
• Quick Laughter: For even more hilarity, make the bunny “forget” where it hid the eggs halfway through the hunt, then have it get overly excited when the kids find one anyway.
• Riddles for Every Age: Adapt the clues to suit your kids. For toddlers, add pictures or simple instructions like “Go to the blue chair.” For older kids, try rhymes or riddles.
• Interactive Finish: Have the bunny lead everyone in a post-hunt “victory hop” dance to expend all that pent-up energy. Trust me, they’ll love it (and maybe nap afterward, fingers crossed).
15. Simon Says with a Springtime Twist

It’s Simon Says, but make it springy! Using a bunny or frog puppet as “Simon” adds an irresistible dose of character (and hilarity) to this classic game. Whether you’ve got a group of sugar-high kids at an Easter party or just need a quick indoor activity, this version is guaranteed to get everyone giggling and hopping.
Supplies
• A cute bunny or frog puppet to act as “Simon” (the more fun and animated, the better)
• Space to move around (whether it’s a backyard, classroom, or living room doesn’t matter as long as there’s room to hop and stretch)
• Fun Easter or spring-themed props (optional):
• Plastic eggs
• Bunny ears or hats
• Small flower props or butterfly cutouts
• A basket to hold eggs, flowers, or other items for actions
Instructions
1. Introduce the Puppet as Simon(or whatever name you choose): Start by introducing your “Simon” bunny or frog puppet, the leader of springtime shenaigans! Give Simon a catchy name like "Hoppy the Bunny" or “Ribbert the Frog” and use your silliest voice to add some personality.
2. Explain the Rules: Remind the kids how Simon Says works. Simon gives instructions, but you only follow them if Simon starts with “Simon says.” For example, “Simon says hop like a bunny.” If Simon skips the magic phrase and just says, “Hop like a bunny!” the players freeze. Anyone caught hopping is out for that round.
3. Practice a Couple Rounds: Run through a few practice commands so the kids warm up to the game and understand the rules. Keep it lighthearted, especially for younger players.
4. Add a Springtime Spin: Use the actions list below for a festive twist! These moves are all Easter- or spring-inspired, ensuring the kids stay in the seasonal spirit. Simon can even “use props” to make the commands extra fun (e.g., hold up a plastic egg and ask them to pretend to hatch from it).
5. Celebrate the Winners: Play until there’s one person left who hasn’t been tricked by sneaky Simon commands. Reward the winner with a small treat, a high-five from Simon, or the chance to take over as Simon for the next round
Spring -Themed Simon Says
Here are some hopping, twirling, and egg-hunting moves to liven up your game. Remember to sprinkle in some commands without saying "Simon says" to keep the kids on their toes!
1. Hop like a bunny
2. Flap like a chick
3. Jump like a frog
4. Pretend to hatch from an egg
5. Tiptoe through a flower garden
6. Sniff and twitch your nose like a bunny
7. Buzz like a bee collecting pollen
8. Shake your tail like a bunny
9. Pretend to nibble on a carrot
10. Pretend to grow and bloom like a flower
Pro Tips
• Keep It Light and Fun: Instead of removing kids from the game when they get tricked, just have them take a quick sit out and then jump back in for the next round.
• Encourage Silly Voices: Simone the frog or bunny voice should be as silly and fun as possible. Think high-pitched squeaks, exaggerated ribbits, or dramatic carrot-chomping noises.
• Use Props Smartly: If you’ve got Easter eggs, fake flowers, or baskets, incorporate them into the actions. For example, have kids “collect eggs” or “smell the flowers” for added immersion.
• Switch up Simon: To keep the game exciting, rotate who gets to control the puppet and be Simon. Kids will love having the chance to boss their friends around (in the nicest way).
Simon Says with a bunny or frog puppet isn’t just a game, it’s a show! Between the silly commands, seasonal antics, and endless giggles, this spring-themed twist on a classic is sure to have everyone begging for one more round.
There you have it, parents! Crafts, STEM, and minimal prep chaos all rolled into one for your Easter or spring bash. The kids will be entertained, you’ll look like a party genius, and with any luck, you’ll sneak a coffee or three while they’re busy. Proceed with confidence, glitter in your hair, and zero regrets. Happy spring!